Make the Most of the Concrete Maturity Method with These Calibration Tips
One of our favorite subjects to write about is concrete maturity. One of—if not the—most important part of using concrete maturity onsite, is the calibration process.
Big Projects Deserve Better Protection
While concrete maturity is not a new concept in the industry, it is still one that is not fully adopted. More and more engineers are seeing the benefits of using the maturity method in their projects and are accepting that it can be the most reliable way of testing concrete strength if done properly. The method presents many advantages, including the ability to predict when your concrete will reach the required strength, allowing you to optimize your timelines. Here are 10 tips to help you with your concrete maturity calibration and get your project off on the right foot:
Before You Start Your Concrete Maturity Calibration, Review the ASTM C1074 Standard in Detail
This doesn’t only apply to ASTM C1074, Standard Practice for Estimating Concrete Strength by the Maturity Method, it applies to any standard applicable to your project. Always ensure you are on top of the guidelines and know all the information relevant to the application of your concrete. It’s important to know which standard applies to your country or state, as it could differ. Our blog post on calibrating your concrete maturity sensors outlines everything you need to know.
Make Sure Your Mix is Consistent Throughout Your Concrete Maturity Calibration
This is the first step to avoiding discrepancies. Consistency is key in any concrete project. If you start changing your mixes throughout your project you’ll have to go back to the lab and perform new calibrations for each new mix added. This includes both getting a new mix from your concrete supplier and changes to your current mix like adding more water or ice from the time your mix is created to the time it is placed on site. If anything changes in your current mix, aside from the allowed admixtures, a new calibration is required.
Make Sure You are Testing the Same Sample Size for Both Strength and Temperature
This is on the same note as above. Consistency is key throughout the entirety of your project, additionally to making sure your mix is consistent, make sure you’re using the same size specifications for cylinders where you’re measuring strength and those where you’re measuring temperature. Temperature monitoring is extremely important during calibration as it is directly related to the strength of your element. For that reason, it’s the determining factor in predicting strength in a non-destructive manner. If your calibration cylinders aren’t consistent, your temperature reading and maturity calculations will be inaccurate.
Make Sure You are Testing an Appropriate Amount of Data Points
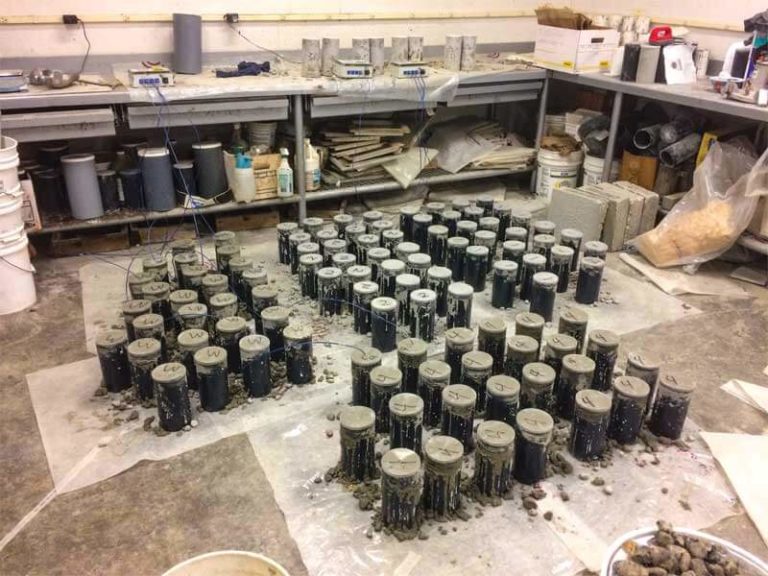
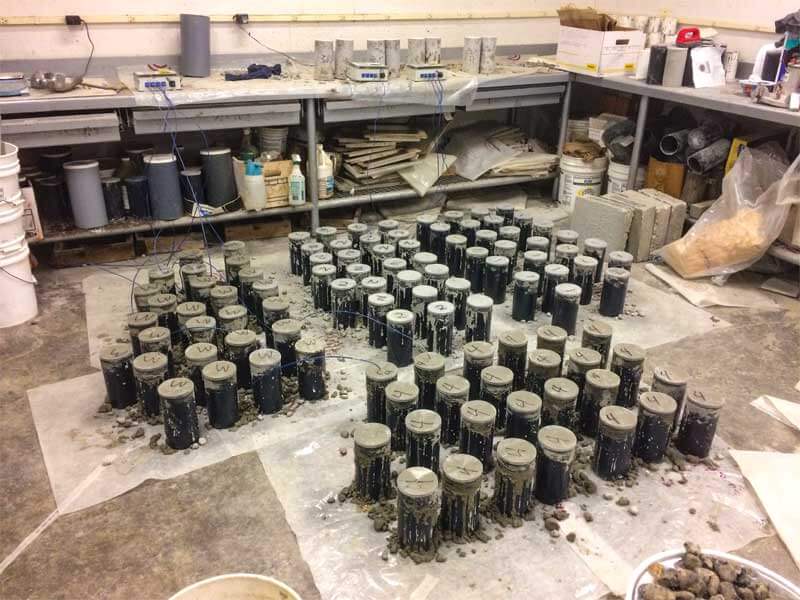
As outlined in Concrete Maturity: From Theory to Application, “the code for concrete maturity calibration states that a minimum of 17 cylinders are required for calibration. Two of those cylinders must be used for temperature monitoring while the others must be used for compressive strength.” It also states that each testing point requires three cylinders. Of course, you can increase the number of cylinders if you wish, but the amounts outlined will give you all the data you require.
Increase the Precision of Your Calibration by Using Very Early-Age Data Points
When it comes to time-sensitive operations such as building bridges or opening roads to traffic, using very early-age calibration data points (e.g. 3, 6, 12, 24, 36, or 48 hrs) is recommended to increase the precision of your calibration.
Make Sure You are Testing the Right Amount of Cylinders
Specifications for ASTM C1074 require a minimum of 17 cylinders to be tested during the calibration process. As stated in the e-book mentioned above, Concrete Maturity: From Theory to Application, “two of those cylinders must be used for temperature monitoring while the others must be used for compressive strength. For each of the testing times selected, three cylinders must be made.”
Make Sure All Testing Cylinders are Cured in the Exact Same Conditions
To avoid discrepancies and assure you have the most accurate strength predictions, in accordance with ASTM C1074, Standard Practice for Estimating Concrete Strength by the Maturity Method, all test cylinders have to be cured in the exact same conditions.
Use the Right Temperature Intervals
For the first two days of the maturity calibration, temperature intervals must be 30 minutes or less. After this time, when the concrete has reached equilibrium with the curing temperatures longer intervals can be used. Shorter intervals between tests are necessary during the early stages as this is when concrete gains strength the fastest.
Make Sure You are Validating Your Tests and Ensuring the In-Place Concrete is Similar to the One Used for Calibration
Once you’ve reached the desired strength levels, more validation tests must be done in accordance with Section 9 of ASTM C1074. This is to make sure that the concrete that was actually placed followed the specifications of the concrete that was delivered.
Make Sure you know the Limitations of Concrete Maturity and Maturity Calibrations!
There are a number of limitations that come with the maturity method including the fact that the calibration must be kept up to date and be verified regularly. You can find a list of limitations on page 44 of Concrete Maturity: From Theory to Application.
When it comes to any part of a concrete project, it’s important to follow the most up to date guidelines and use the best equipment on the market to avoid failures. SmartRock® maturity meters offer accurate, real-time strength and maturity readings and have been relied on in over 6,200 projects world-wide.
